Creating Custom Components in Acquia Site Studio

Acquia Site Studio makes content marketers more efficient and independent. Its intuitive interface and low code system make it easy to add rich content to your website. We recently wrote about it in a high-level post, so if you need a refresher or introduction to Site Studio, give it a read.
If you're a content marketer, you can be relatively self-sufficient in Site Studio using its admin tools to build your own components. But, sometimes, you need to add new components with code to meet a specific need.
Fortunately, Site Studio makes this easy to do. Plus, once a new component is available, it can leverage the same aspects of Drupal and Site Studio as any built-in or user-created components.
Let's take a look.
Scenario
Imagine you need to embed a multistep form from a third party service. The service provides many different forms depending on what you want to show on a particular page. The third-party vendor provides some means of getting the form to render on your site with the following:
- Add an HTML container to hold the output
- Add a script tag after the HTML container, containing a URL to their service and a variable value to pull the form you want to embed
You quickly realize that none of the available components or options in Site Studio provide this and that there are no existing Drupal modules that integrate with this service. You also have numerous pages to create with different forms and need to add components above and below the forms just like other pages on the site. Copying and pasting that HTML and script tag above into a WYSIWYG also won't work (removed for security reasons). And it's error-prone — what if you make a typo when trying to edit the site ID in the URL?
You need to make this possible from the Site Studio interface so any content editor can do it. Offering new elements in Site Studio is relatively simple and lets you tell the system how to render them with a template. This is how you will approach your solution.
Once this is done, editors will have a brand new component to use around the site. The only thing they'll need to know is the name of the form they'd like to embed!
Solution
Now that you know what to provide, you just need to define a few things to make the component available in Site Studio. You need to control the markup so that it's consistent and complies with the vendor's specifications for their embed. You'll do this in three steps:
- Create a theme hook, so Drupal understands how to render the content
- Create a twig file that contains the necessary HTML and outputs the value of the embed URL correctly
- Create a new custom element using the CustomElement plugin API of Site Studio
First, start with the theme hook. You don't have anything to pass along to it, other than the settings array from the Site Studio element:
/**
 * Implements hook_theme().
 */
function mymodule_theme($existing, $type, $theme, $path) {
  return [
    'my_custom_element_theme' => [
      'variables' => [
        'settings' => NULL,
      ],
    ]
  ];
}
Next, add the required embed HTML from the vendor to the Twig template file. Don't worry about what {{ settings.form_id }} is just yet, you'll see that in a moment:
<div class="form-output"></div>
<script
  type="text/javascript"
  src="https://example/script.js?externalForm={{ settings.form_id }}
    &container=form-output">
</script>
Lastly, you need to define a custom element in your module. There are only two methods required. One defines what fields you want the element to collect, and the other tells Drupal how to render this element (it points at your theme function, and passes the settings to the template above):
namespace Drupal\mymodule\Plugin\CustomElement;

use Drupal\cohesion_elements\CustomElementPluginBase;

/**
 * Element to contain the marketing form embed.
 *
 * @CustomElement(
 *   id = "mymodule_element",
 *   label = @Translation("Marketing form embed from Example Third Party Vendor.")
 * )
 */
class MyModuleCustomElement extends CustomElementPluginBase {

  /**
   * {@inheritdoc}
   */
  public function getFields() {
    return [
      'form_id' => [
        'title' => 'Form ID',
        'type' => 'textfield',
      ],
    ];
  }

  /**
   * {@inheritdoc}
   */
  public function render($settings) {
    return [
      '#theme' => 'my_custom_element_theme',
      '#settings' => $settings,
    ];
  }

}
You only need to ask for one field, form_id, from the user. This value is passed along, and is what you saw above as settings.form_id. Now, bring all these pieces together and make them just like any other component in Site Studio.
Building the New Component
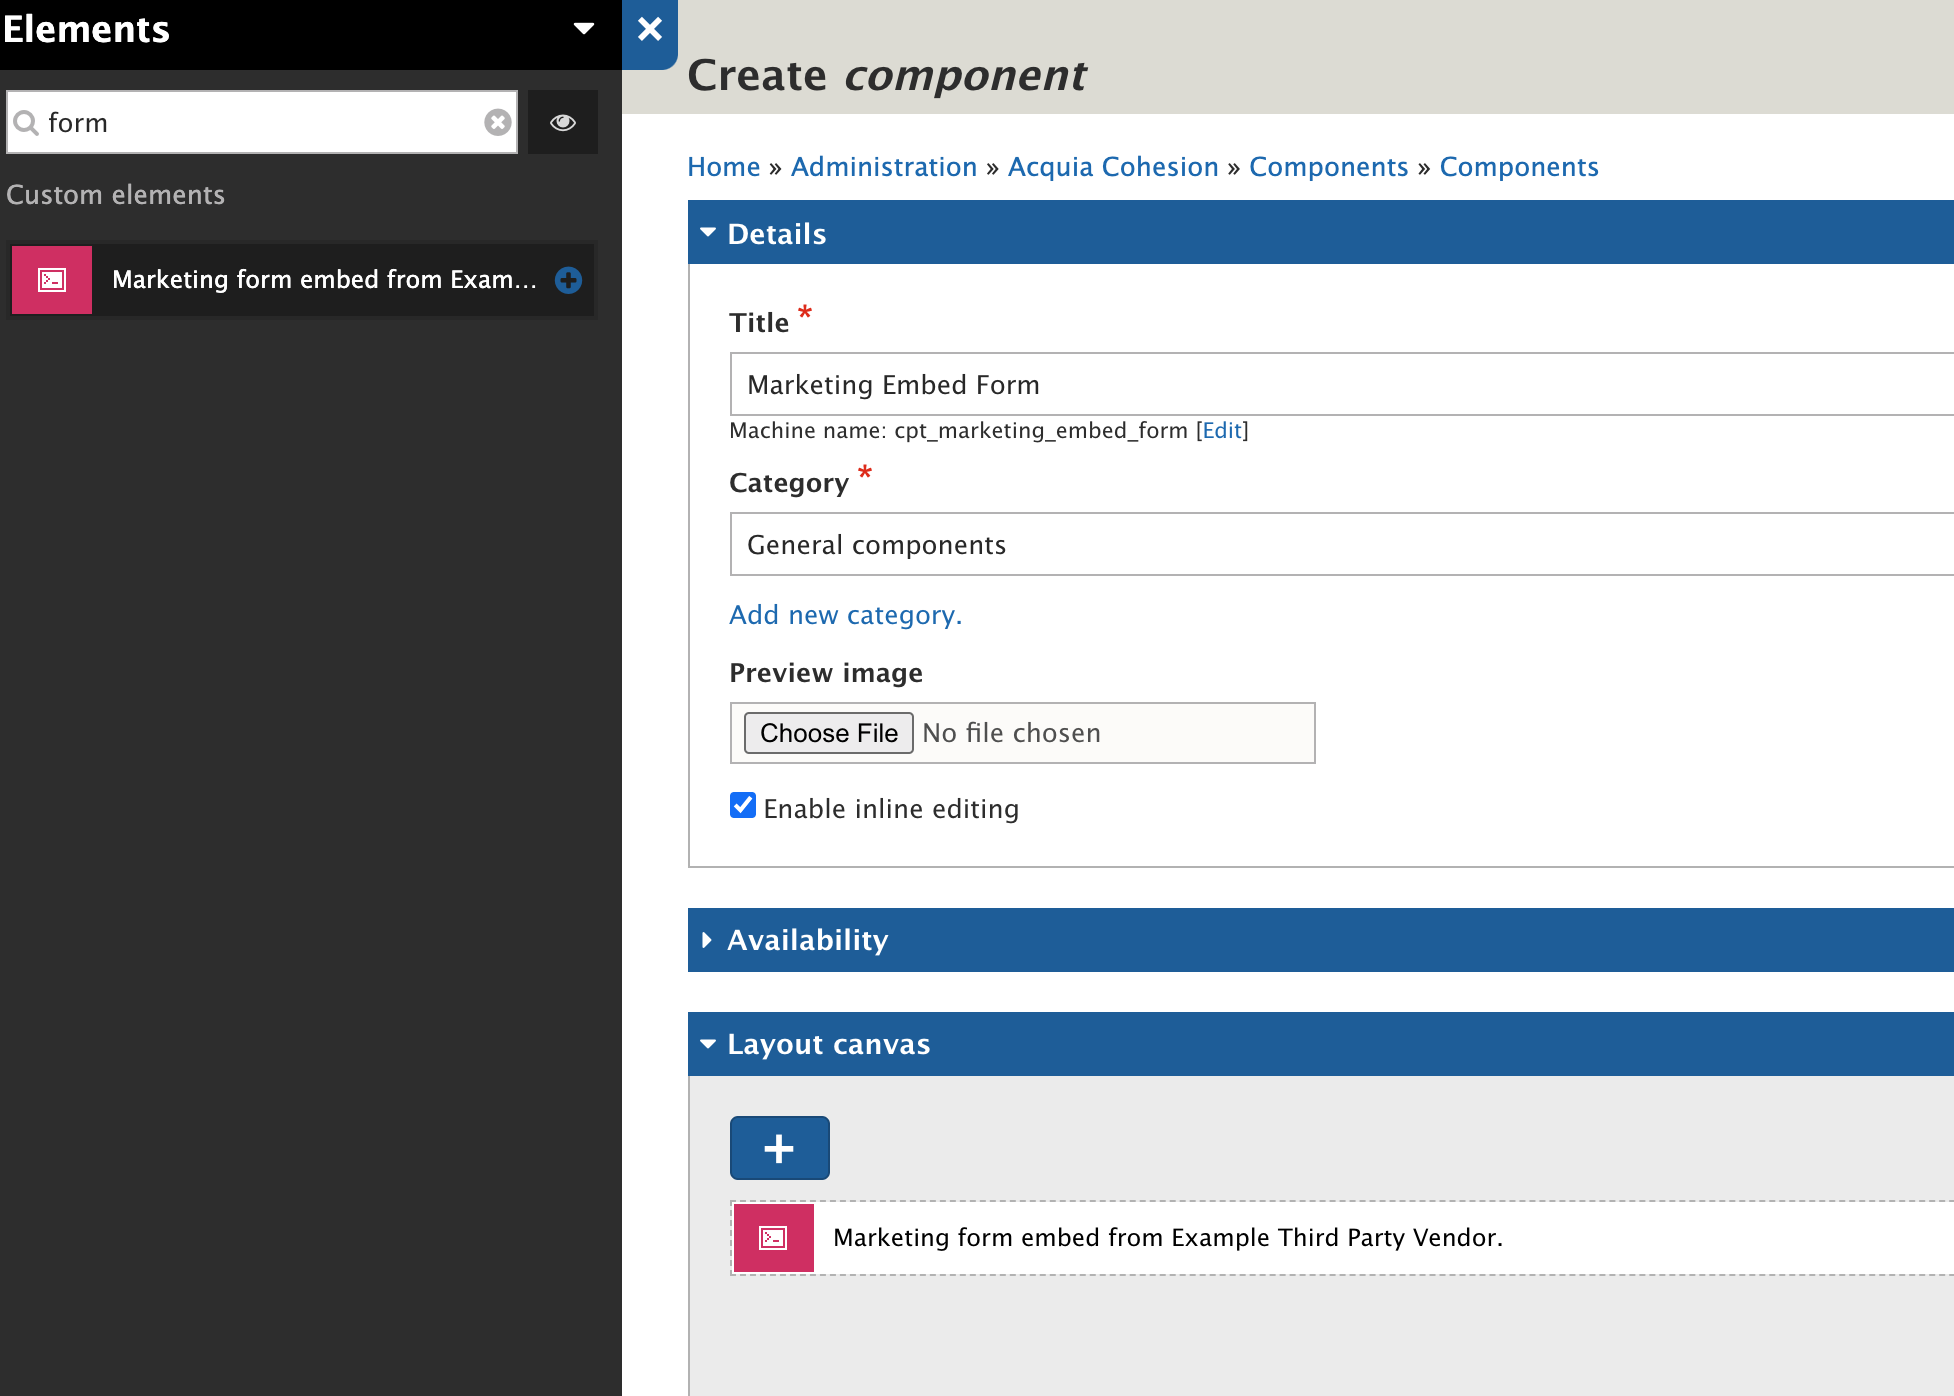
From here, you can take this to the finish line in the user interface. You should now see the custom element we defined as a new option when you create a component:

Adding our new custom element when creating a new component
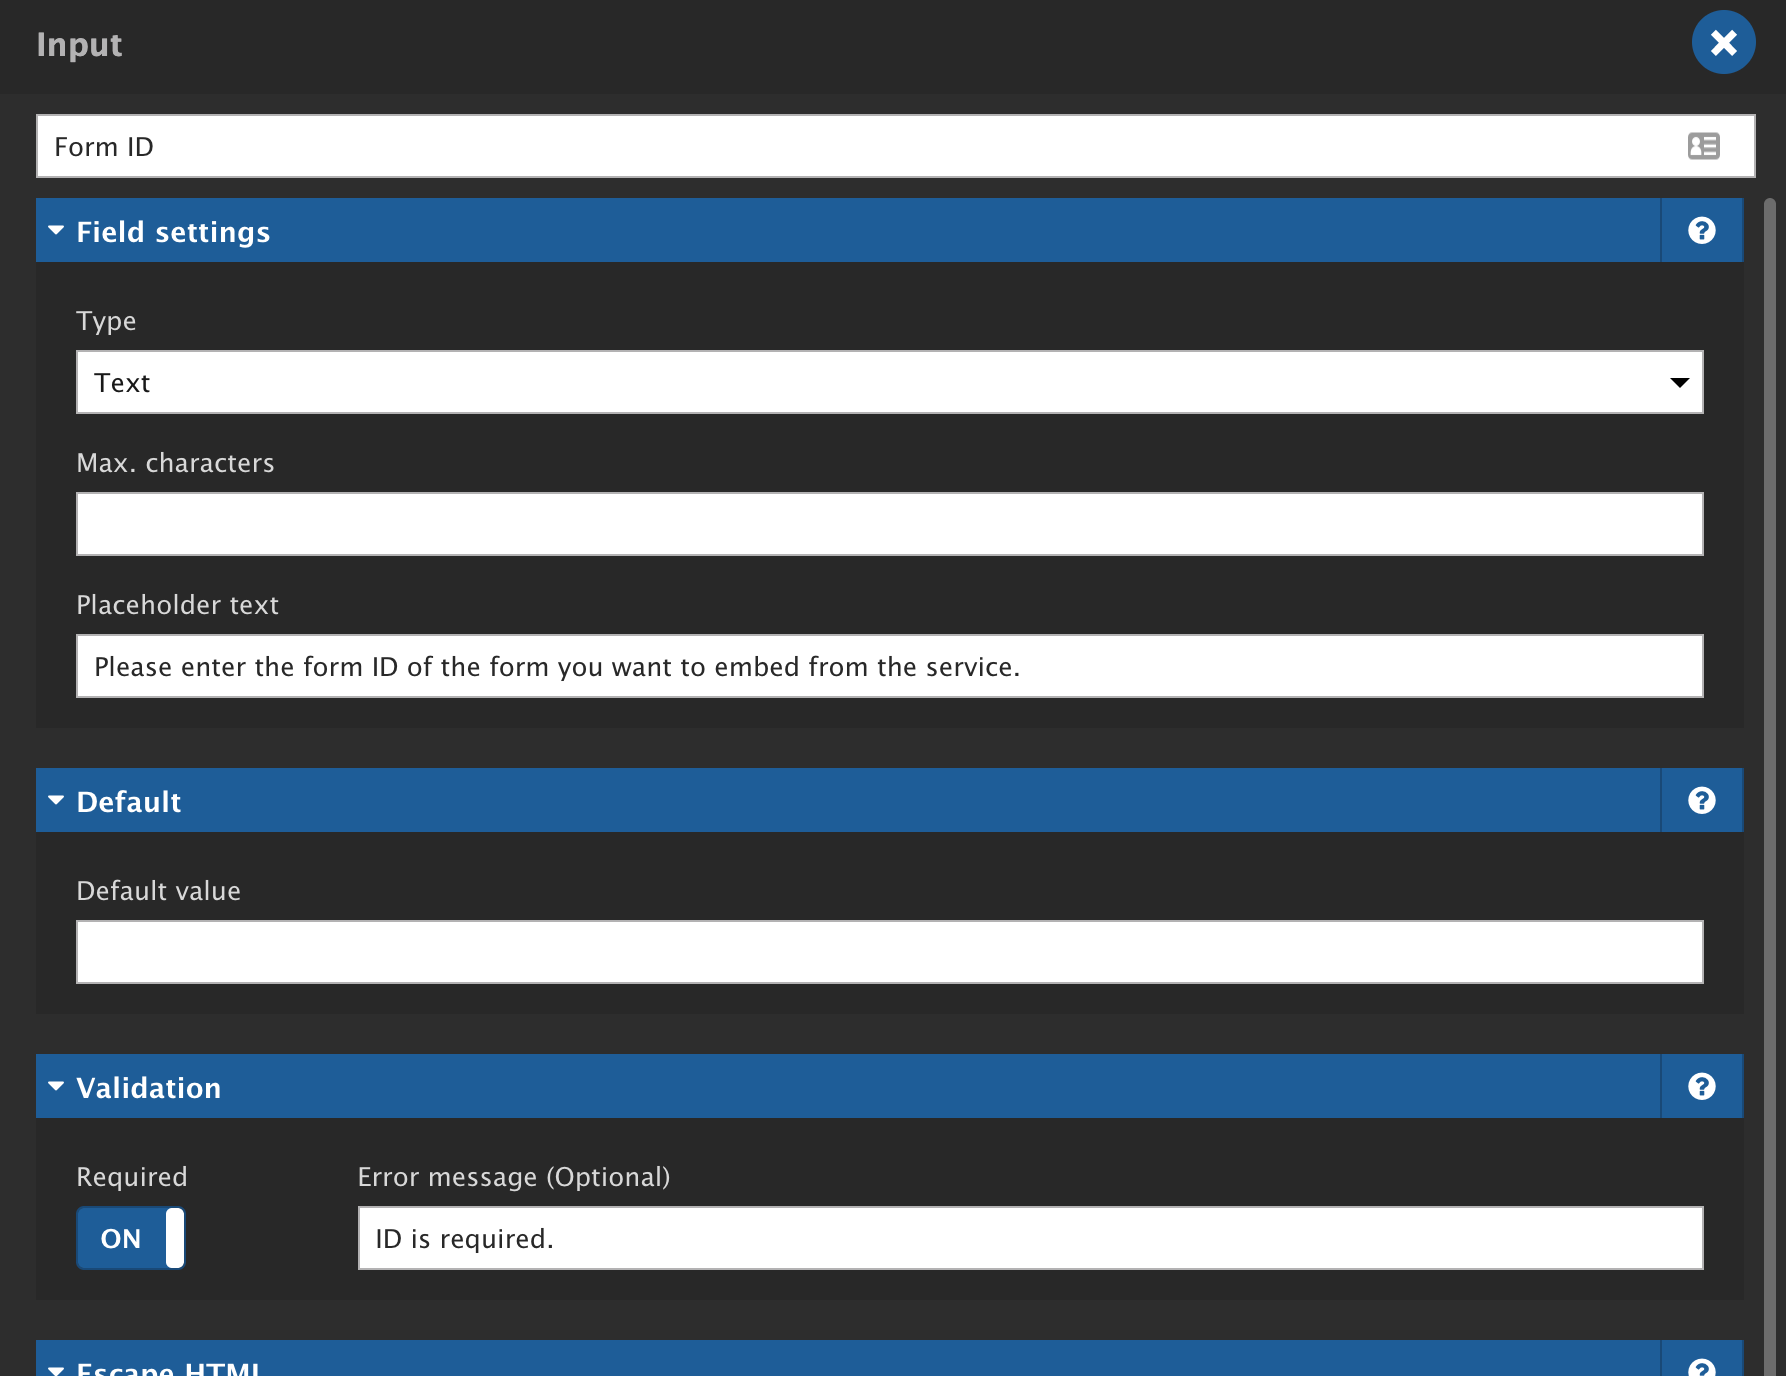
Now that it's in Site Studio, you can use all the same options in defining a component. Take advantage of the interface builder so you can collect input from the user, and add help text for the input.
Using the field token mode of Site Studio, we can map the input from the user-facing input field to the form_id field we defined in our custom element plugin above. This will let marketers add this new component to as many pages as they need:

You can attach form fields on components to capture and use inside of the component.
Content editors can now drop in whatever form they need from the third party service without needing anything other than the ID of the form. The rest will be taken care of behind the scenes. There is no longer any need for editors to copy and paste messy HTML or Javascript includes which is brittle and error prone. This approach makes it dead simple for anyone to do.
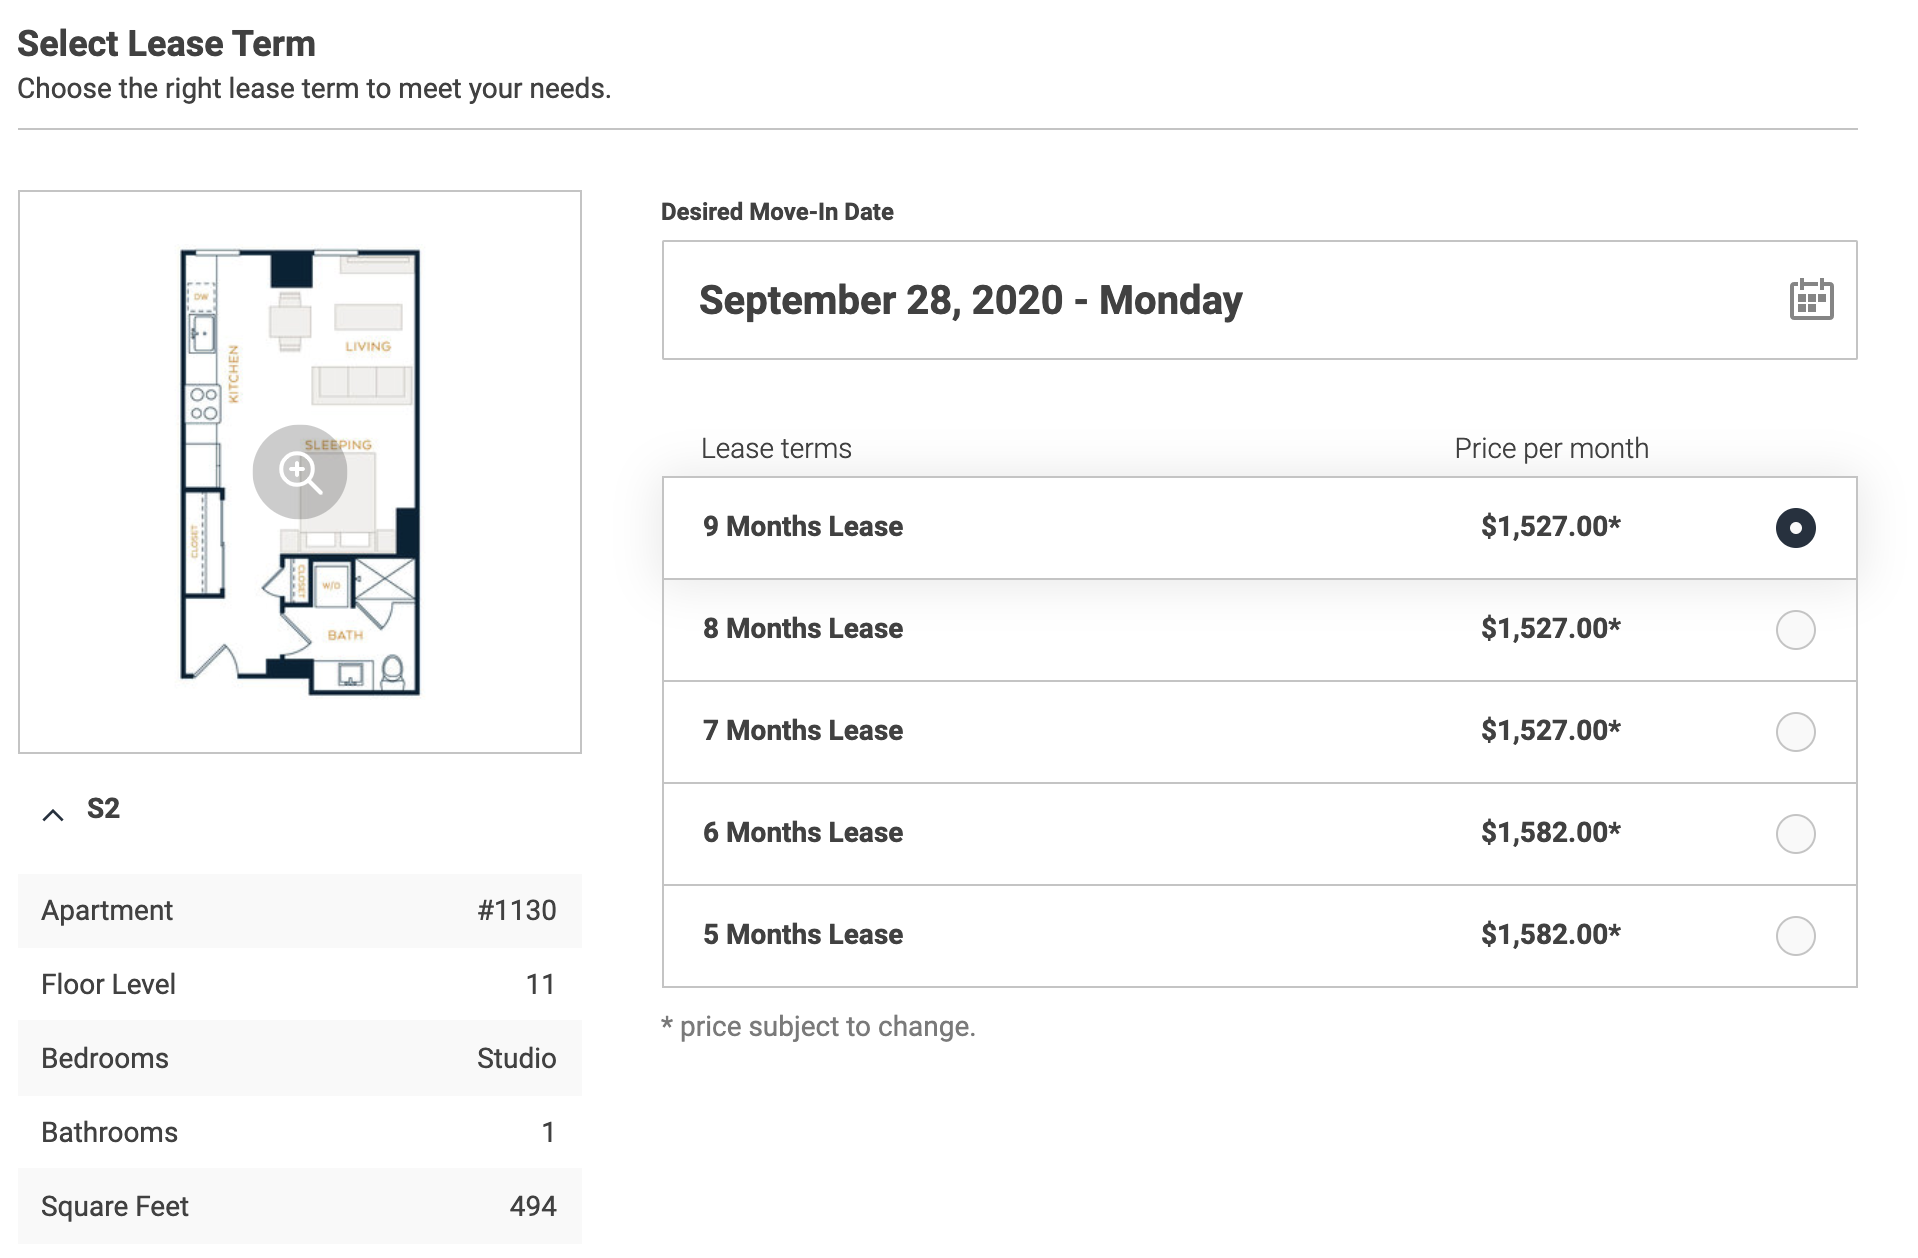
Upon saving the new page, the component renders on the page and pulls in the desired form from the third party service:

The embedded third party form rendered in a component in Drupal
Conclusion
Site Studio is a super-effective accelerator for building components and creating content. Its low-code nature allows teams to rapidly build sites. But it still lets a developer provide cutting-edge solutions when they're needed.
Velir has experience bridging these component gaps in Site Studio. By engaging our developers we've extended Site Studio's usefulness and flexibility. We have implemented similar solutions to enable content authors to add page content. Those solutions include interactive galleries, rich embeds, virtual tours, and faceted search powered by ReactJS. We've added them to Drupal sites without content authors needing to know anything more than how to drag and drop the components onto their sites.
We can enable you to do the same and empower your content editors while maintaining a clear, consistent content layout and behavior.
Read more about our partnership with Acquia or our thoughts on Drupal.


